Why would I do that?
Web designers and developers are often faced with the problem that they want to change something on
an existing website or application, and it is not possible to directly modify the source code or
resources on the server.
This tutorial shows how to set up a local proxy server running on the local workstation.
Through this proxy then we will browse to the target page.
A part of the HTTP traffic will redirect to your own computer where you have write access.
For example, we want to load all css resources from our own computer.
Without having a running copy of the application code on your machine,
you are still not able to change to the server-side application logic like
database access, session behavior, ...
But this method is very good for experiments with the appearance or the javascript code of
the target page.
If the target application is running in an IDE on the local machine, you can also use the proxy
the opposite way to try how your version of the application on the real website would look and behave.
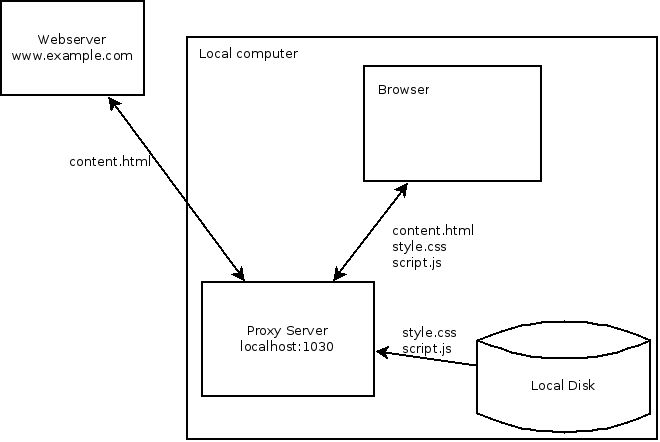
Overview
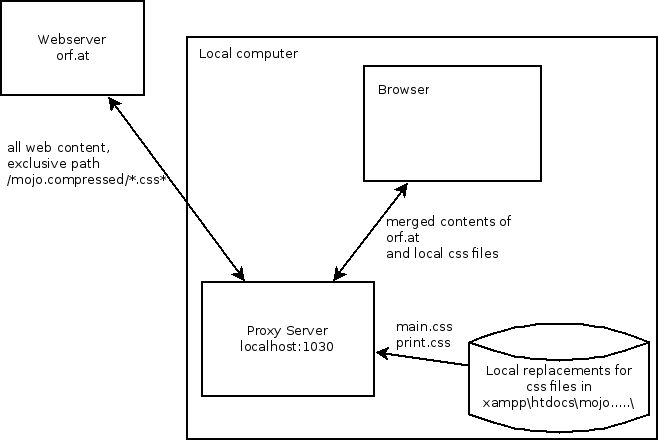
This diagram shows how it works.
The proxy serves the css and js files from the local disk, the rest comes from the target server.
Preparare your workstation
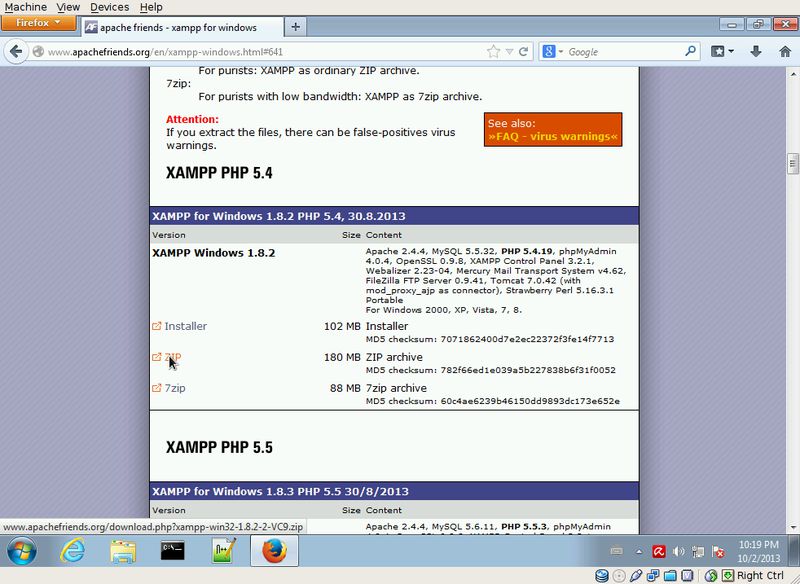
Download and extract XAMPP
For this tutorial you will need to download a copy of the XAMPP suite for your system.
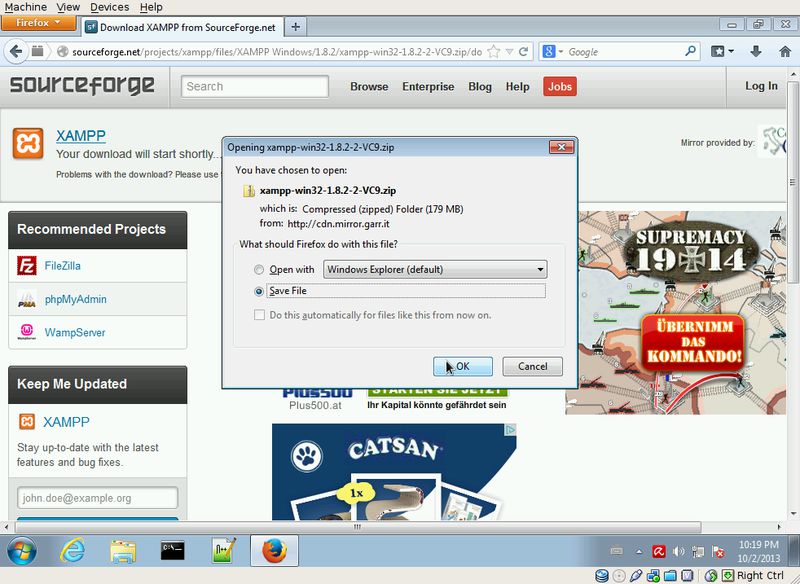
Download the ZIP file:
Note: Apache requires to run in a path containing no blanks. Otherwise it will not start.
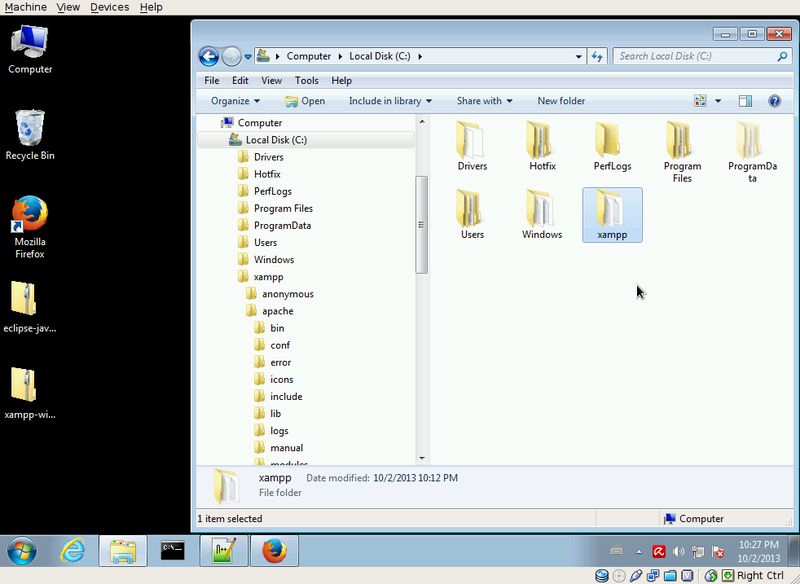
I chose to extract it to c:\xampp
Alter the local server port (optional if you are not admin)
If you are not a local administrator on your computer,
you need to alter the port of your local Apache webserver to a value larger than 1024.
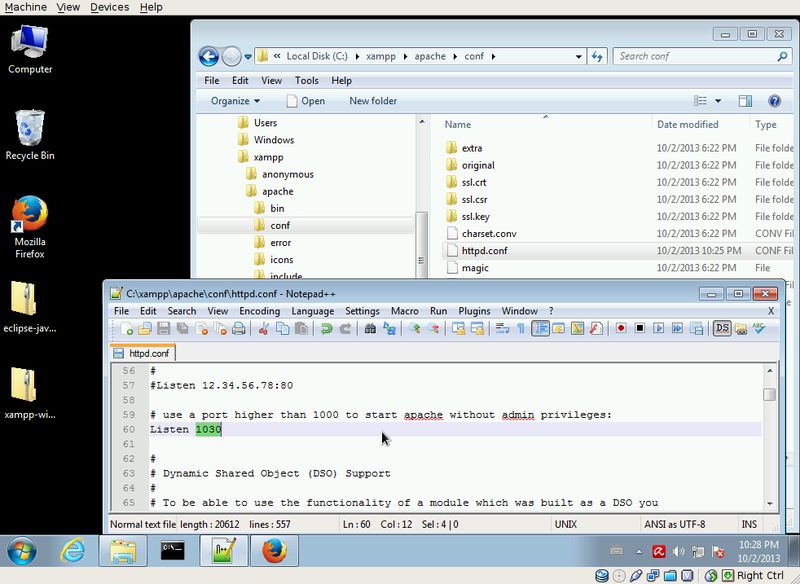
Set the property "Listen" in httpd.conf to your preferred value:
In this example I will change the it to 1030. (Default is 80)
Verify the apache installation
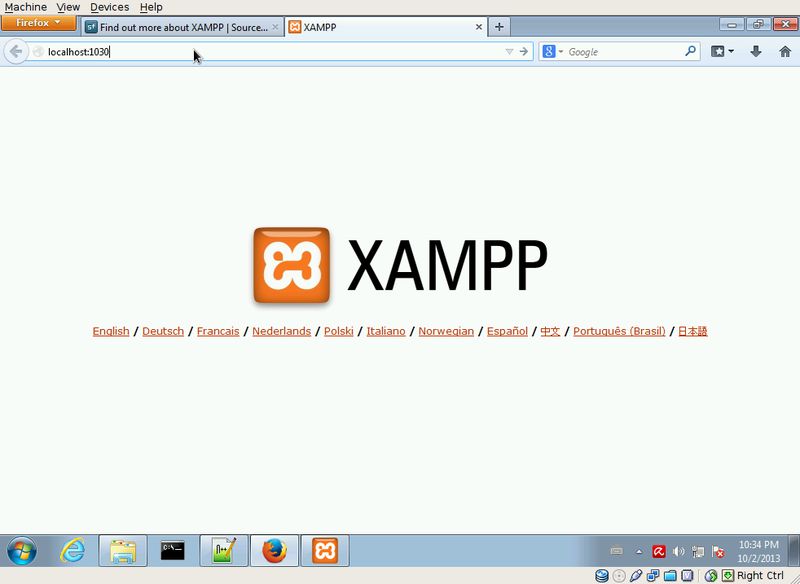
Now you can perform a little test, start apache and browse to its start page.
-
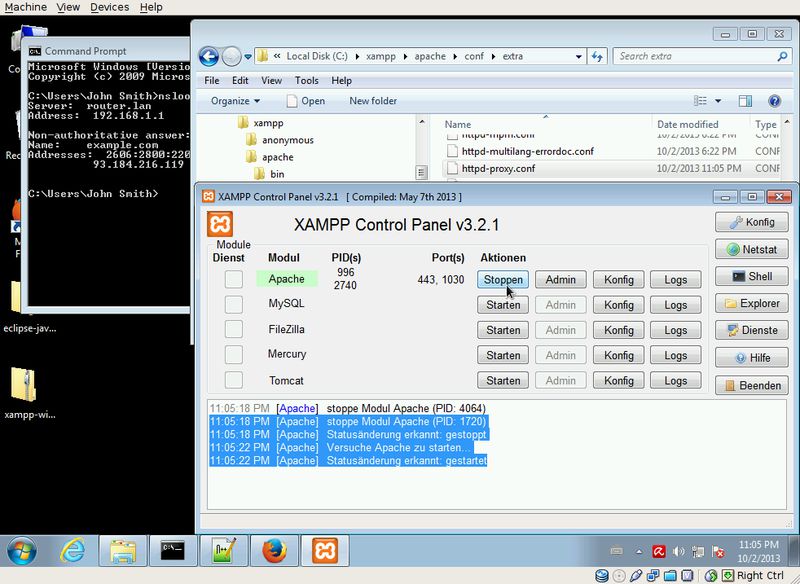
Start the server by running xampp-control.exe, ...
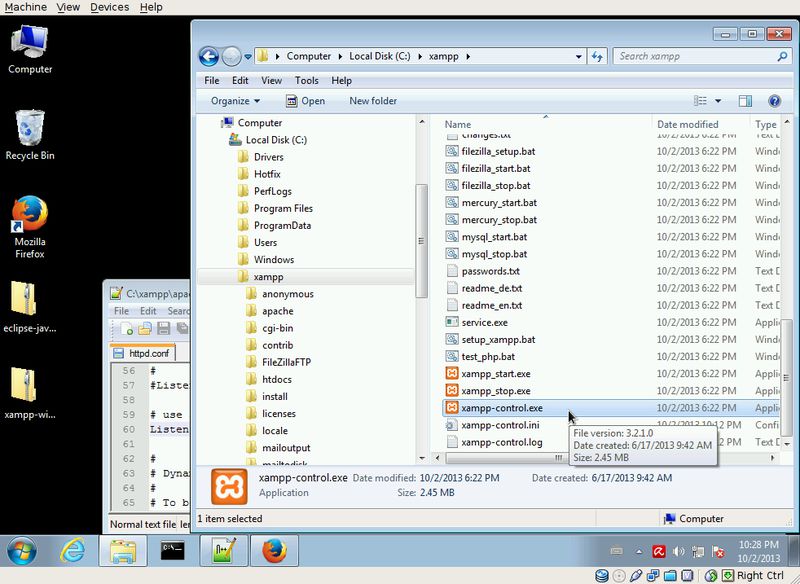
-
... and click start on the apache module:
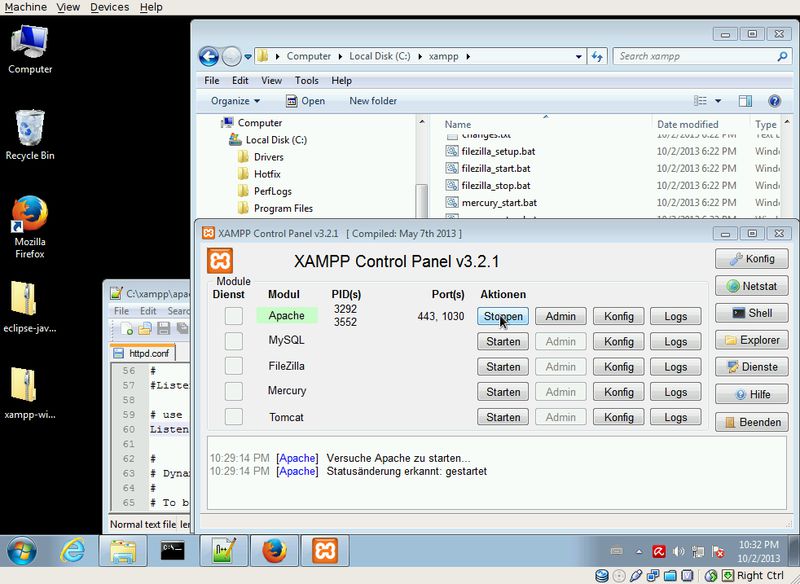
-
Browse to http://localhost:1030 and check if you see something like a splash page.
Setup a simple proxy
OK, we have a local webserver. Let's set up the proxy!
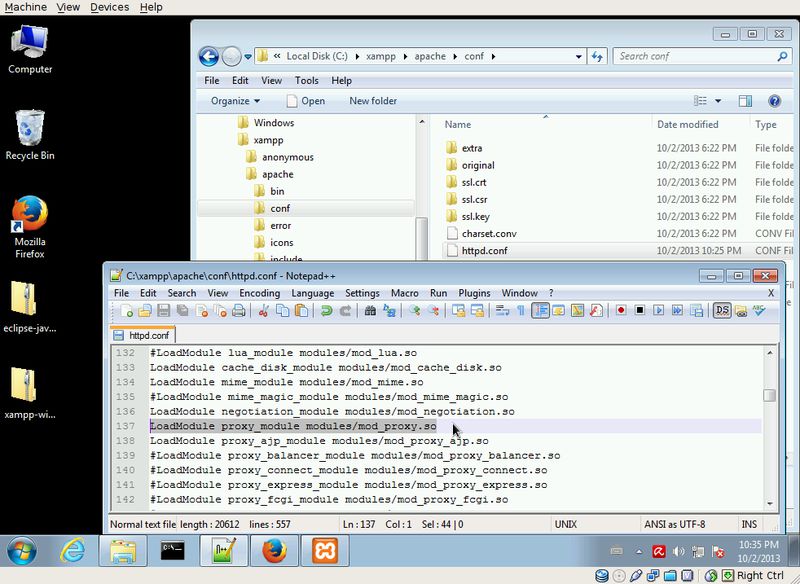
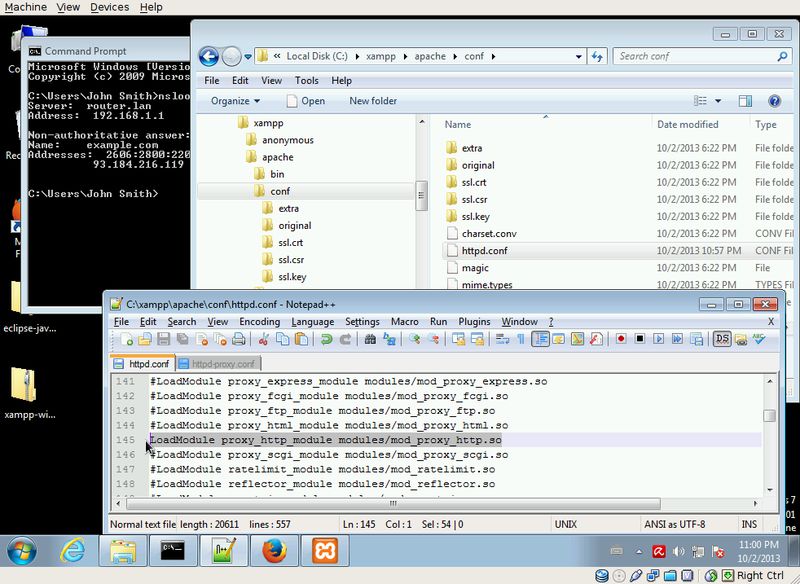
Enable Apache modules
First, we need to make sure that the following apache modules are enabled.
Open httpd.conf and make sure that the following lines are not commented:
(remove '#' at the beginning of the line)

Configure simple test proxy
Let's check our apaches proxy module.
Open the http-proxy.conf and set an example rule set like below.
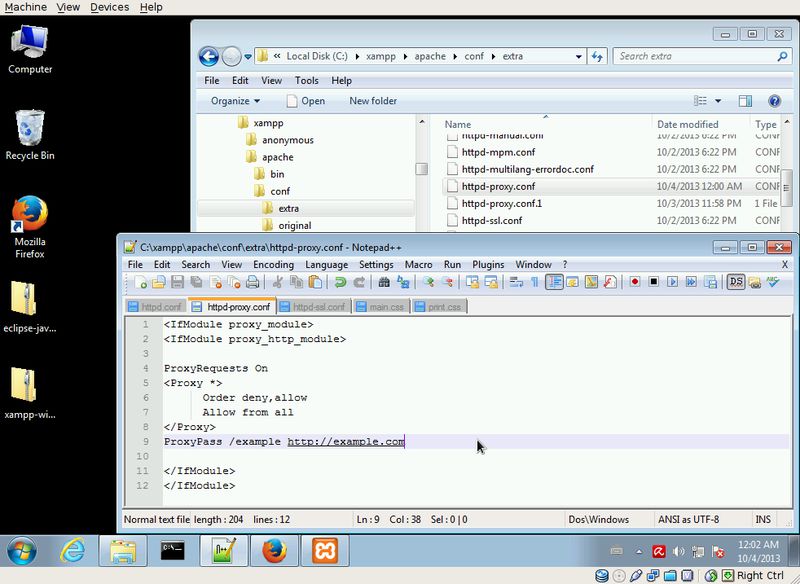
Save the config files and restart the apache module by stopping and starting again:
Open your browser and see if it routes you to the given target page:
Note the different url /example
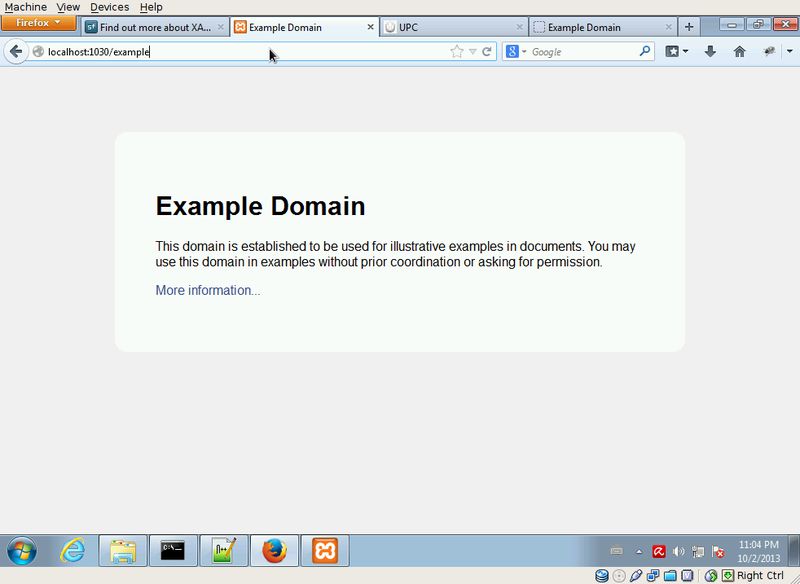
Good, our proxy also works fine.
Complete example step by step
Overview for this example
In this example our goals are:
- View the website http://orf.at in our local browser through our local proxy.
- All html content (except the css files we plan to modify) are loaded from the target webserver.
- We will download a copy of the css files from the target server to our disk where we are able to edit them.
- See the results in all browsers available on the computer. No browser modifications are needed.
Configure the target page
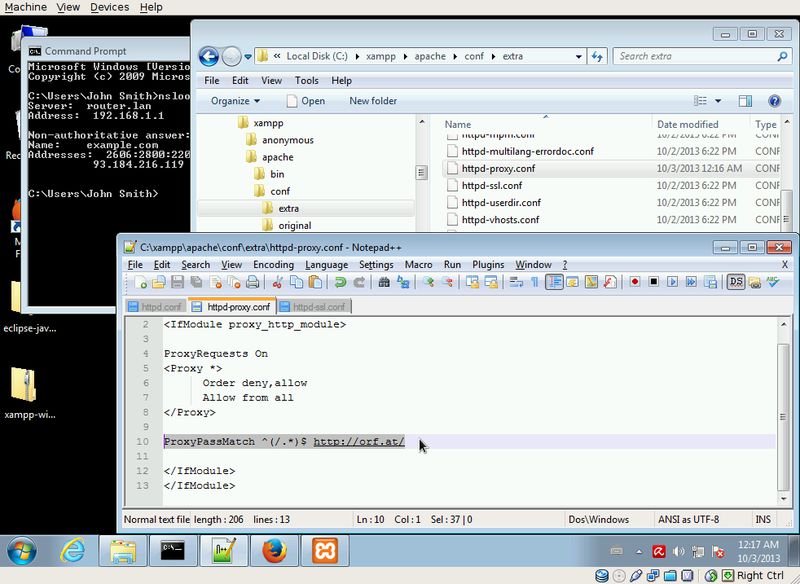
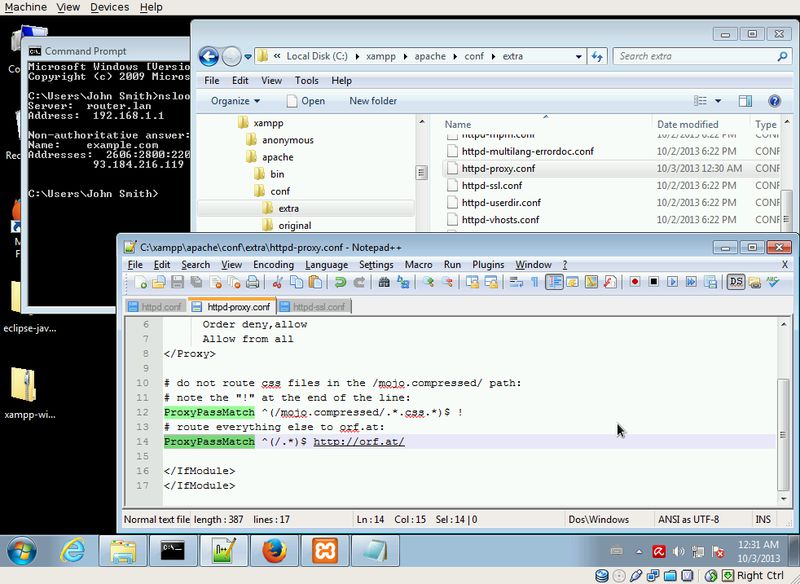
Back to the httpd-proxy.conf, remove the ProxyPass line and insert a new rule.
Note the different directive ProxyPassMatch
The first argument ^(/.*)$ says: Everything that starts with a slash
is routed forward.
The second argument is the target page's url.
In the screenshot you will find the complete content of httpd-proxy.conf.
After each config modification, apache needs a restart.
For the rest of this how-to, I will imply this.
Check which resources you want to modify
Now browse to your proxy url, and see where the css files are loaded from.
In our example this is simple, there are only 2 such files in use by the target page.
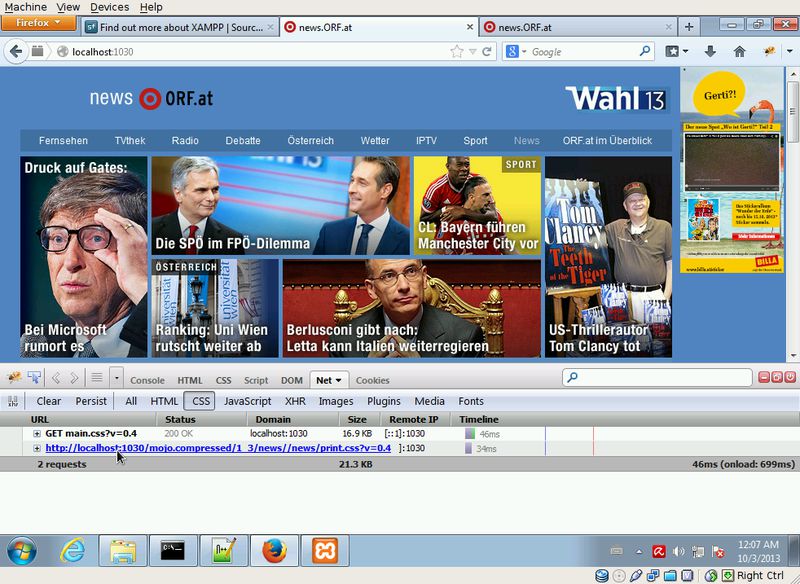
Exclude the css resources in the proxy definition
In this example, I will bypass the css files to our local disk.
An additional rule is needed in the proxy configuration.
Insert it before the existing rule. Apache will handle the rules in their defined order.
If you refresh the page in your browser, you should see that the css files are not loaded.
Your local Apache server tries to find the files inside its webroot folder and does not find them.
Ouch - 404 - but OK, the proxy does not fetch the css any more:

Download the css resources to your disk
Since the css HTTP requests are not served by the proxy any more, apache will try to
load the resources from the local filesystem.
More precisely, apache loads relatively to the htdocs folder in the
XAMPP installation directory.
According to the css urls that can be seen in the firebug panel,
simply create the subfolders, and download the css files into the created location:
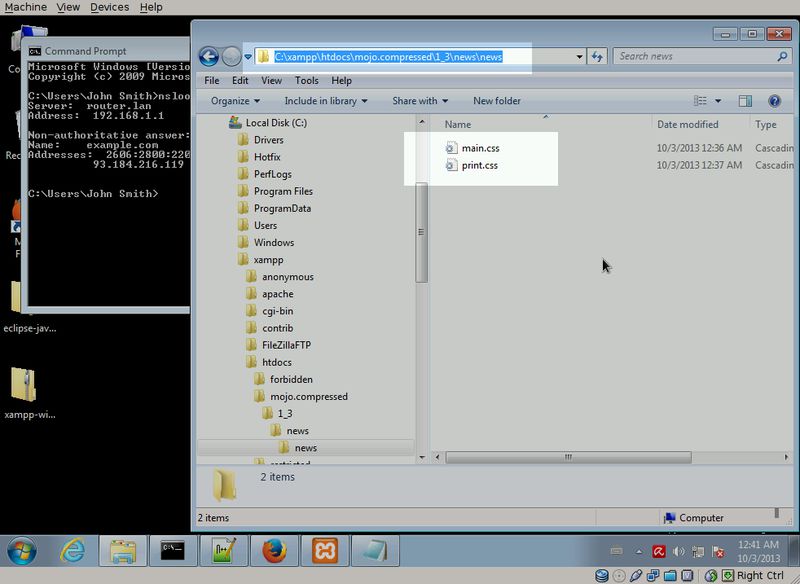
Now verify that apache serves the local css files. The page should look normal again after a refresh:
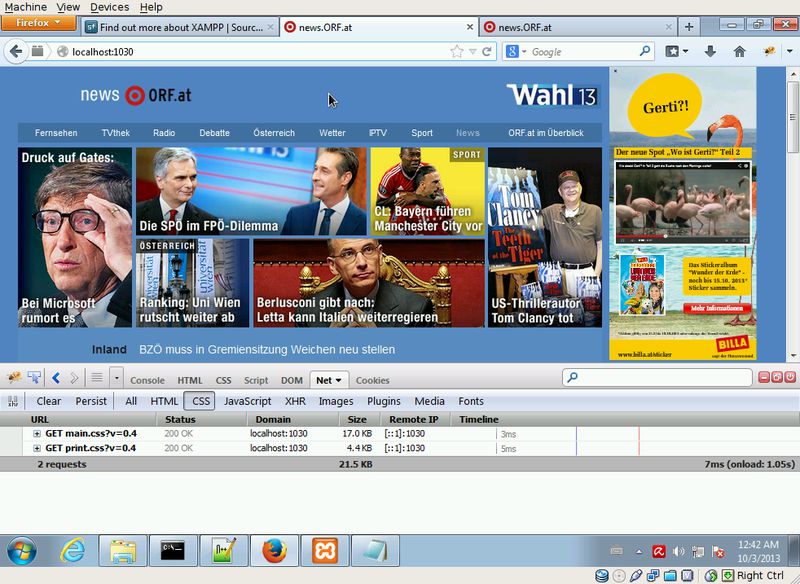
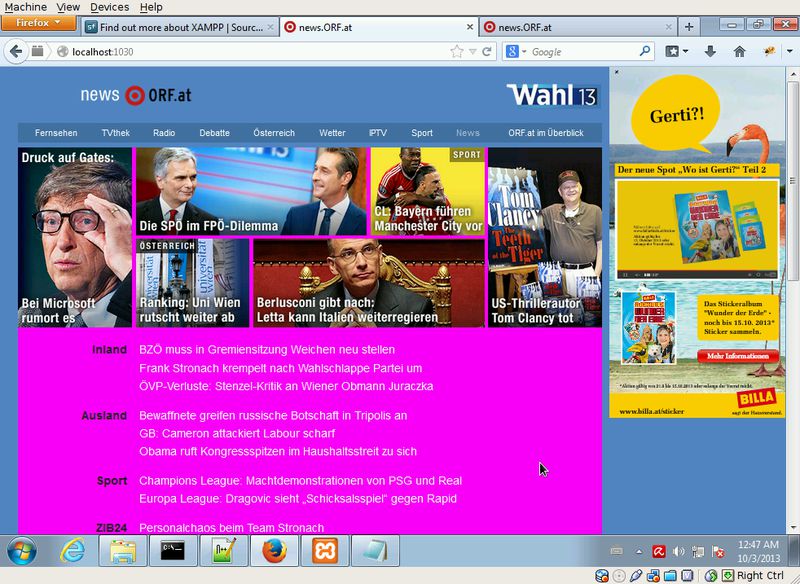
The funny part - Hack!
Finally, we're able to change the css files, and see the results immediately in our web browser
For example, use pink as background color:
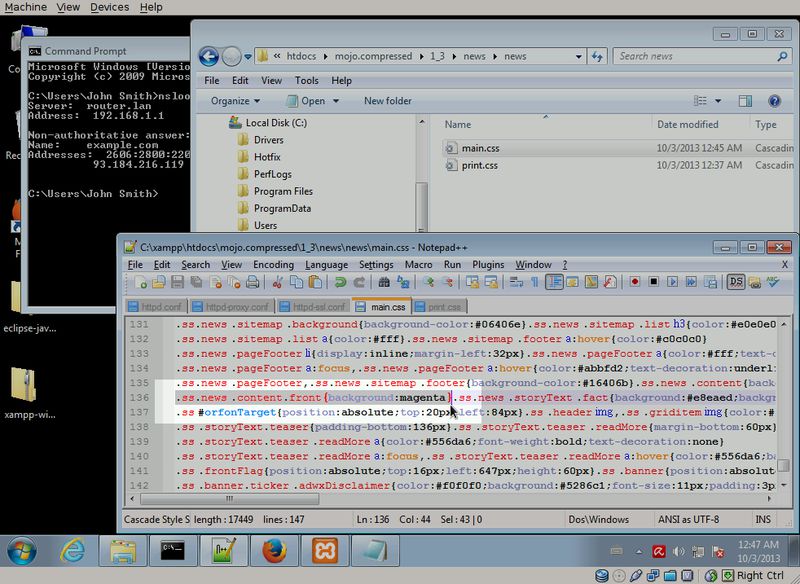
And, with a single browser refresh you can see the change.
Note: if you modify the resources in the htdocs folder,
you do not need a server restart. Only when changing the apache config.